Saturday, 8 November 2014

Cheese Puffs


Choux pastry has until now been my Kryptonite.  Back in the good old days, you know when the mountains were a ripple in the ground and dinosaurs roamed the earth! Before I had been diagnosed with RA (Rheumatoid Arthritis) I used to be able to do a lot of things I just cannot do anymore, such as whip egg whites by hand and beat a Choux pastry as it needs to be with a wooden spoon. 

Since then I have had to find different ways to do things I can no longer do.  One of them is Choux.  I have tried many times and they just go flat, so I gave up making Choux, until I saw Ina Garten making these on her show Barefoot Contessa and I thought that I should try this.

1 cup milk
115g butter
1 cup plain flour
1 tspn salt
1/4 tspn ground pepper
4 large eggs, beaten
1 cup grated tasty cheese
1/4 cup grated Parmesan cheese
1 beaten egg for egg wash

Pre heat oven to 220C and like 2 baking trays with baking paper.


Heat milk, butter, salt and pepper until just before boiling point.


Add the flour all at once and beat with a wooden spoon still over the heat until the mixture comes together and forms a ball.  Cook stirring constantly for 2 minutes over the heat.  The flour will begin to coat the bottom of your sauce pan.


In the bowl of your food processor fitted with the steal blade, place the cheese, then dump in the flour mixture and eggs.  Place on the lid and turn on, allow to run for about 1 to 2 minutes or until the dough is smooth and thick.


Spoon the mixture into a pastry bag fitted with a large plain tip.  Pipe into tablespoon size mounds of the mixture.  If you don't have a piping bag you can use teaspoons to scoop out the mixture.


With a wet finger press down the tips left by the piping bag on top of each puff.


Brush the top of each puff with the extra beaten egg and top with a little grated cheese.


Bake for 15 minutes or until golden.


To freeze the puffs let them cool on the tray and place the tray of cold puffs in the freezer overnight.  When frozen bag for later use.


To reheat place frozen puffs on a tray and re heat at 200C for 7 minutes.

Saturday, 1 November 2014

Cheesy Mashie Balls


It is fast coming up to Party season and I like to put a few treats on the blog.  I have been working on some treats you can make ahead and have in the freezer and pull out when needed.

These recipes will show you that you don't have to go all out spending a day in the kitchen before your party.  You can make some things ahead and just reheat them, cook them or just plain put them together.

I had some trial and errors with this recipe and it took me a while to work the recipe to something that I feel most people can make.

6 large potatoes, peeled and quartered
1/2 cup plain flour
1 beaten egg
2 cups grated tasty cheese
2 tablespoons chopped parsley
breadcrumbs


Above we have a potato masher and a potato ricer.  Difference? Just the how fluffy your mash is really.  I use the masher for everyday and the ricer for gnocchi and things like these Mashie balls.

 
Cook your potatoes until tender.  Drain and either pass through the potato ricer into a bowl or mash in the saucepan.  Mix through the flour and beaten egg.  You should do this quickly as you don't want to scramble the egg through the hot potato.  Set aside to cool to room temp.

 
Add the cheese and parsley to the cool potato and mix through with a fork until combined.

 
Roll Tablespoons of mixture into balls and place on tray.

 
Roll the balls in breadcrumbs and set on the tray. 

 
At this stage you can either allow the mashies to stand for 15 minutes before cooking or place the tray in the freezer for later use.

 
In my trial and errors with this recipe I did work out that if you don't have your oil hot enough this above is what happens.  The mashies dissolve in the oil leaving you with a big mess! 

 
Heat your oil to between 180C and 190C and then cook in batches.  Place on paper towel to drain.  At this stage you could put them on a paper towel lined tray and put in the freezer.  When ready to use them take them out of the freezer and reheat at 180C pre heated oven for 15 - 20 mins. 

Saturday, 25 October 2014

Pink Grapefruit Sorbet


You know when you wing it with a recipe and you think, this is either going to be good or a soaring failure.  This sorbet was one of those for me!  I got 2 pink grapefruit in my fruit box and left them in the fruit bowl thinking to myself, "why on earth would you put this in a fruit box I don't know what to do with this!"

Last weekend was use it or loose it Saturday and I had the grapefruit in my sights.  Google is my friend as usual and I found some sorbet recipes.

This recipe was a fantastic success and no one else in the house is allowed to eat it,  this is mine all mine!

You can make this more family friendly by swapping out the grapefruit for orange juice and the sugar syrup for lemonade/7up to give it a bit of fizz.

1 cup fresh squeezed pink grapefruit juice
zest of one grapefruit
1 cup sugar
1 cup water


Combine the sugar, water and zest in a saucepan and heat until the sugar is dissolved.  Place the sugar syrup in a plastic container or jug and place in the fridge to chill.  I prefer to make mine the night ahead and use it the next day so that its very cold.


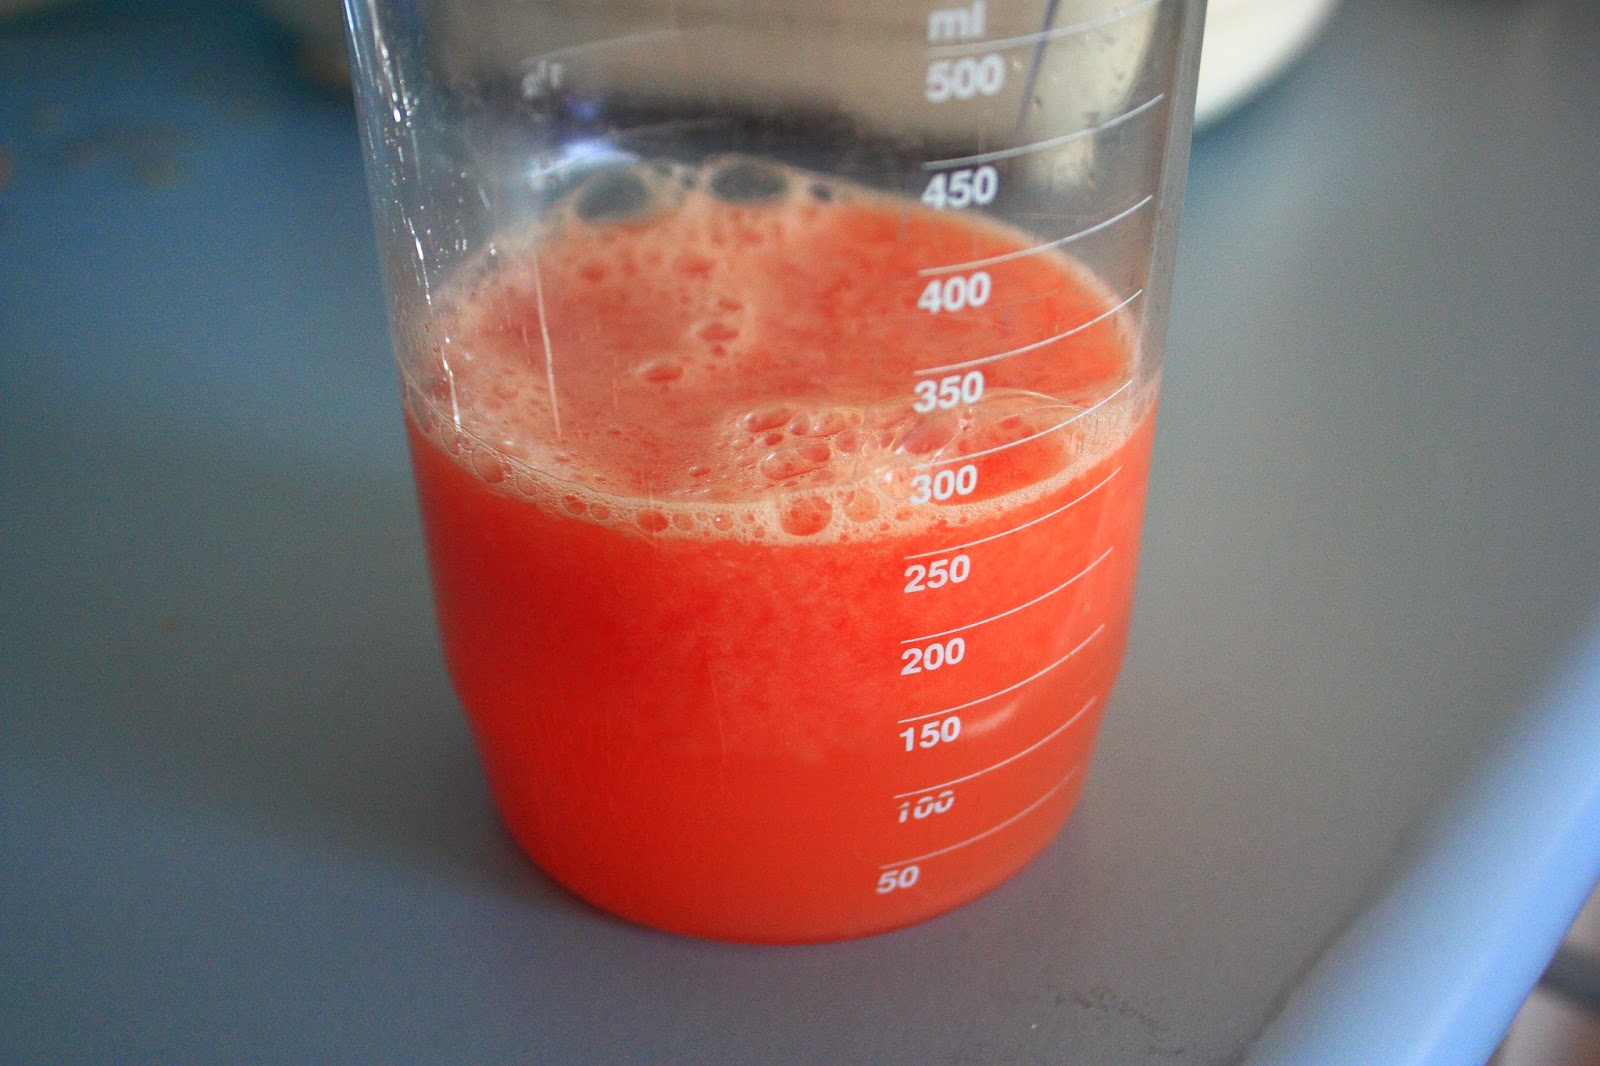
Juice your pink grapefruit and refrigerate the juice until cold.  Combine the sugar syrup and juice, this should make up to 2 cups of liquid.

Place your grapefruit mix in your ice cream maker and churn to the manufacturers instructions.  Or if you don't have an ice cream maker you can place in a shallow plastic container in the freezer and every  2 hours remove and whisk.  Continue to repeat this for 12 hours.


Serve in chilled glass or bowl.
 

Saturday, 18 October 2014

Avocado Dressing


It feels like summer has arrived here in Newcastle.  I know its weeks away but with the weather the way it is we have gone into summer mode in our house, lots of salads, cold meats etc.

In Canada Scott discovered he loved Caesar Salads and especially Croutons!  So I make homemade croutons but that is for another post in the future. 

I have been trying to find some salad dressings that are tasty and lower in fat, other than the oily ones or the creamy ones.  I have a couple of avocados in the fridge that are very ripe and need to be used however there is only  soooo much avocado you can eat at every meal.
 

I found with this dressing that you could dip crudité, a nice slice of crusty French stick or you can use as a salad dressing.

1 whole Avocado
1/2 clove Fresh Garlic, peeled
1 tablespoon fresh lime or lemon juice
3 tablespoons Olive Oil
1/4 teaspoon Salt
1/4 teaspoon Ground Black Pepper
Water


In a food processor add the peeled clove of garlic, avocado, lime or lemon juice, olive oil, salt and pepper.  Process until smooth, stopping to scrape down the sides a few times.  Thin the salad dressing out with a little bit of water 1/4 cup or until it reaches a desired consistency.


Keep in an airtight container in the fridge for at least a week.

Saturday, 11 October 2014

Chocolate crackle caramel Slice


This slice is a gooey caramel, chocolate slice of YUM!

1/2 cup cocoa powder
1 1/2 cups icing sugar
5 cups rice bubbles
150g copha, melted (Crisco)
2 x 380g cans of caramel top n fill
150g milk chocolate melted

Line a 20cm x 30cm lamington pan with baking paper and allow the long sides to overhang.


Sift the cocoa powder and icing sugar together into a bowl with the rice bubbles.


Toss to combine.


Add the melted copha and stir to combine.


Spoon the mixture into the pan and using the back of your spoon press down evenly.  Place in the fridge for 1 hour.


Place caramel filling in a saucepan over medium heat.  Cook, stirring constantly for 5 minutes or until the mixture boils and thickens.  Pour over the prepared base.  Place in fridge for 2 hours to set.


Place chocolate in a heat proof bowl over a saucepan of simmering water.  Stir with a metal spoon until the chocolate melts.  Pour over the caramel mixture and spread to coat.  Place in the fridge for 1 hour to set.


Cut into squares and snag one for yourself or you may miss out!
 

Wednesday, 8 October 2014

Pepper Steak Tagliatelle


Scott loves Pepper Steak or Pepper sauce on anything just about ... well second only to Smokey BBQ Sauce!

Many years ago when we first started living together I found this recipe in a cooking mag I then subscribed to that he loved, since then I make it when the teenager is not here. 

It is a fantastic recipe if you know, friends drop over and stay for dinner, you have 2 pieces of steak and need to stretch it to 4 adults, or shock horror you have one nice juicy steak and cannot be bothered to go to the shops for another, yes that is me.


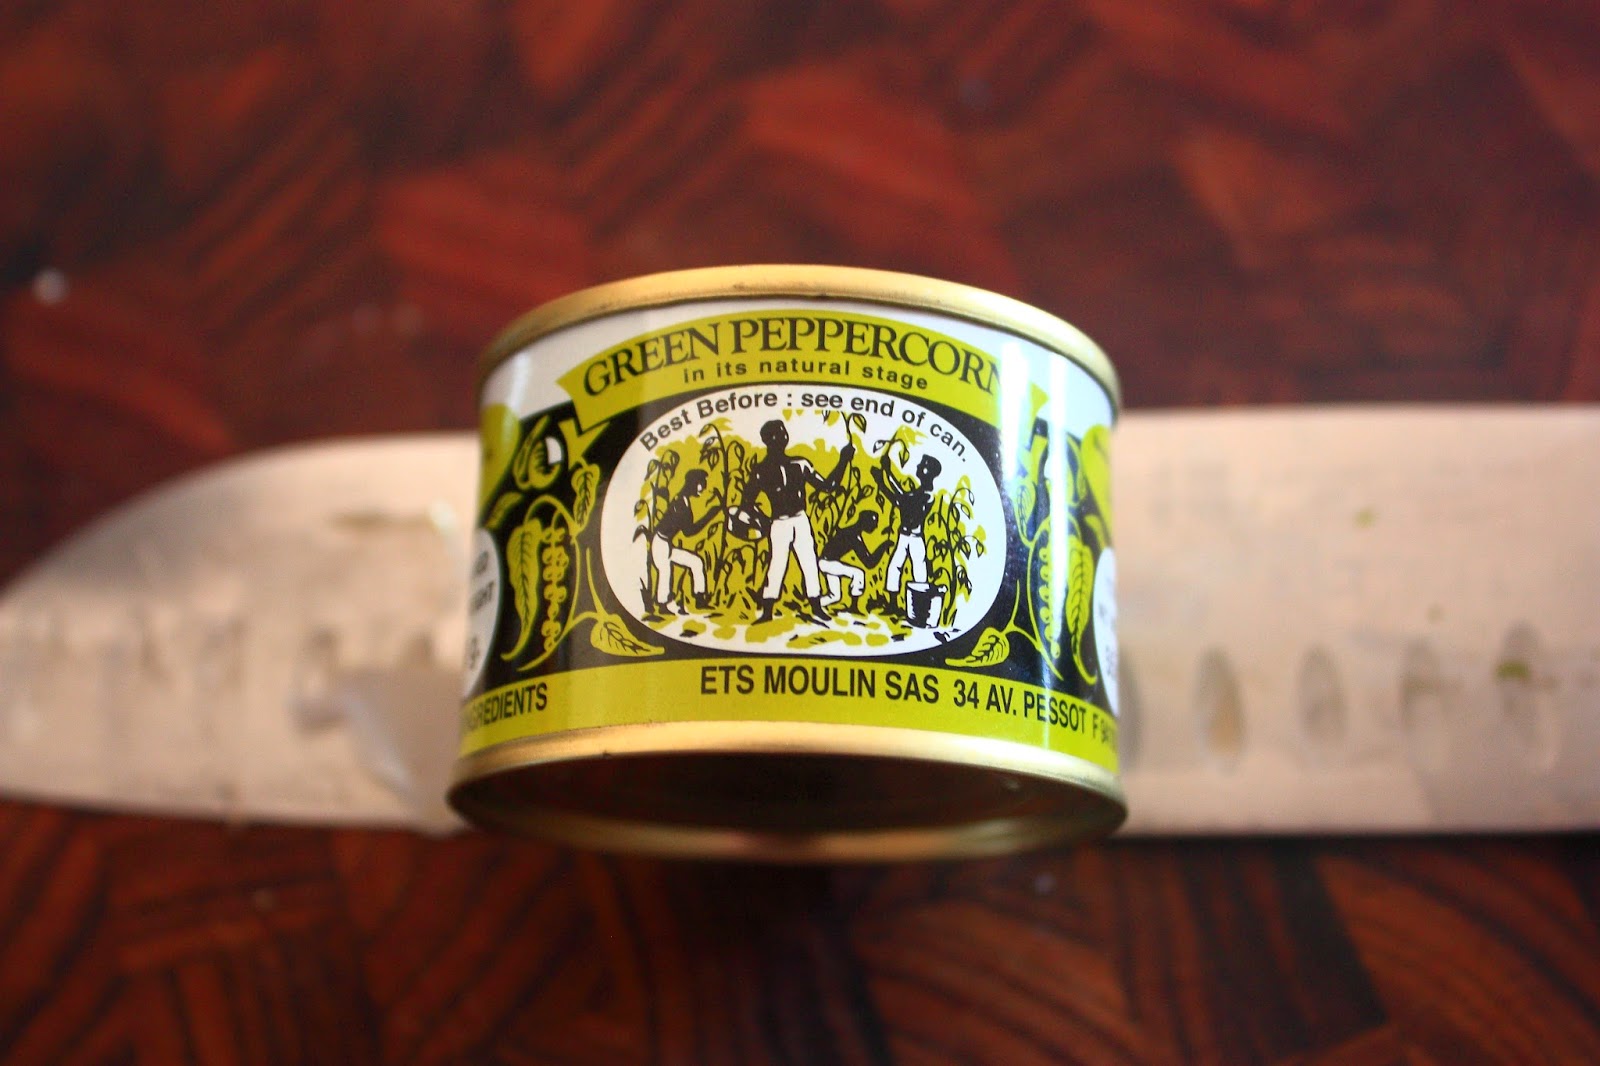
I keep one of these nifty little cans of green peppercorns in the pantry for use when I need to throw this together.  You can get these cans in the spice aisle of the supermarket with the salt and pepper.

The following recipe is for 4 however it is easy to half for 2 or double for a dinner party!

2 steaks (porterhouse or such)
1 tin green peppercorns (see above picture)
2 cups beef stock
300 ml cream
250g tagliatelle
parley to garnish

Put on your water to boil for the pasta.  When water comes to the boil, salt the water and cook the pasta to the instructions.


While this is happening you can season your steak and fry in pre heated fry pan for approx. 3 minutes per side,  you just need to seal the meat and colour slightly,  remove to a plate to rest.   The steak will not be cooked through but this is good.


In the same fry pan add the stock and allow to come to a rapid simmer.  Add 1 to 1 1/2 teaspoons of  drained peppercorns or to taste to the stock and allow to reduce by a third.


While the stock is reducing slice the steak on an angle to desired thickness.


Add the cream to the stock, stir to combine and allow to simmer on low for 3 minutes.


Add the cooked pasta to the sauce, add the chopped parsley to taste,  approx. 1 tablespoon, to the pasta and sauce.  Toss together then add the slices of steak. 


Toss together for 2 minutes and serve.