Saturday, 2 April 2016

Vanilla Cheesecake


Let me apologise up front for a couple of weeks of cheese cakes.... Yes there will be more...

I have found that the Chief Crash Test Dummy can eat these easily and they are everything his dietitian needs him to eat.  

I don't know about you but when ever I do a baked cheese cake I always panic over water getting into the base, no matter how well I wrap the outside in foil.

I have found the solution!  You know those Chicken roasting in the bag, bags?? Yep I put that around the cake tin first then wrapped it in foil, voila no leakage and no soggy bottom!

1 package sweet biscuits such as nice
60 gm butter, melted
2 x 250 gm packages of cream cheese
1 x 250 gm mascapone cheese
3/4 cup caster sugar
2 teaspoons vanilla extract or the seeds scrapped from one vanilla pod
4 eggs


Line your 20 cm tin with baking paper, then place in a large roasting bag.


Wrap in foil, you don't need to be to careful here if using the roasting bag.


Blitz your biscuits to fine crumb and mix through the melted butter.  Press into your lined cake tin and gently press up the sides.  Bake at 180C for 10 minutes to set the base.


Beat your cheeses until smooth, beat in the sugar until combined.


Beat in your eggs one at a time making sure they are combined between each egg, remember to scrape down the sides as well.


Add your vanilla and beat again.  Pour into your tin.  Place tin in a baking tray and fill with boiling water half way up the sides of your tin.  Bake at 175C for an hour.  At this stage your cheesecake should be set around the edges and have the slightest of wobbles in the centre.  Turn off the oven and with the handle of a wooden spoon, prop the oven door open.  Allow to cool in the oven for an hour then remove.  Remove the foil and baking bag and refrigerate over night or minimum of 8 hours.


Decorate as desired and serve.

Saturday, 26 March 2016

Bailey's and Espresso Cheesecake


Happy Easter everyone.

If you are having Easter at your place this year and are stuck for something to make this is it!

This is a very adult Easter dessert.  Full of booze and great for sharing at a dinner party or just for Mummy and Daddy!  Scott kept cutting himself larger and larger slices of cheesecake and all but demolished it.

If your not a fan of coffee and well, hey not everyone is, I try not to judge (weird), then leave out the coffee and just go with bailey's.  Either way this will get your booze loving friends and family talking.

I think this may start a study in cheesecake in the Kitchen....

Base

1 packet of dry sweet biscuits, nice or marie
50 gm butter, melted

Filling

2 x 250 gm packets of cream cheese, room temperature
1 cup caster sugar
4 eggs
1/2 cup bailey's 
1 shot of espresso

Decoration

200 ml Cream
1/4 cup bailey's
sprinkles and malteaser bunnies for kicks


Blitz your biscuits to a fine crumb.  Blitz through the melted butter until all the crumbs are coated.


With a flat bottomed glass press into the base and sides (if desired) or your lined spring form tin.  I use a 20cm tin, remember the smaller the diameter the longer the cook time.  Bake for 8 minutes at 180C to set the base.  Remove from the oven and set aside while you make the filling.


Beat the cream cheese until smooth, beat in the sugar until combined.


Beat in eggs one at a time, remember to scrape down the sides between each egg.


Add the espresso and bailey's and beat again.


I have picked up a new trick since I made this.  In America they have plastic lining bags for your slow cooker, the equivalent here would be one of those oven roasting bags,  put it around the pan then wrap your foil up the sides, this way if you get water over the foil it won't go in the cheese cake.


Pour your filling into the base.


Place your pan in a baking dish/tray and half fill with boiling water.  Bake for 1 hour on 180C or until the sides are set and the centre has a little wobble.  Turn off the oven, prop the door open with a wooden spoon and allow to cool in the oven for an hour.  Remove from the oven and baking tray, cool to room temp then refrigerate over night.


Whisk your cream and bailey's to desired consistency.


Decorate as desired.

Saturday, 19 March 2016

Passion fruit Jelly and Vanilla Panna Cotta


Passion fruit to me is the smell of summer and my childhood.  I remember spending summers running around Old Nanny's yard and eating passion fruit straight from the vine.  

Crack/rip open these little purple beauties and oh my!  We are so lucky to live in a climate that these grow in abundantly and in some areas due to our NOT so freezing winters, unlike the Northern Hemisphere, they grow all year round.

Jelly

8 passion fruit
2 leaves of geletin
60 gm caster sugar


Scrape the flesh and seeds out of your fruit.


Give them a blitz in a food processor or with a stick blender, to loosen the juice from the seeds.  Pass through a sieve to separate.


This should give you about 200 ml of juice.


Soften your geletin in cold water or if powder 2 teaspoons over 2 tablespoons of cold water to soften. Heat the juice when hot mix through the sugar until dissolved.  Stir through the geletin until melted.


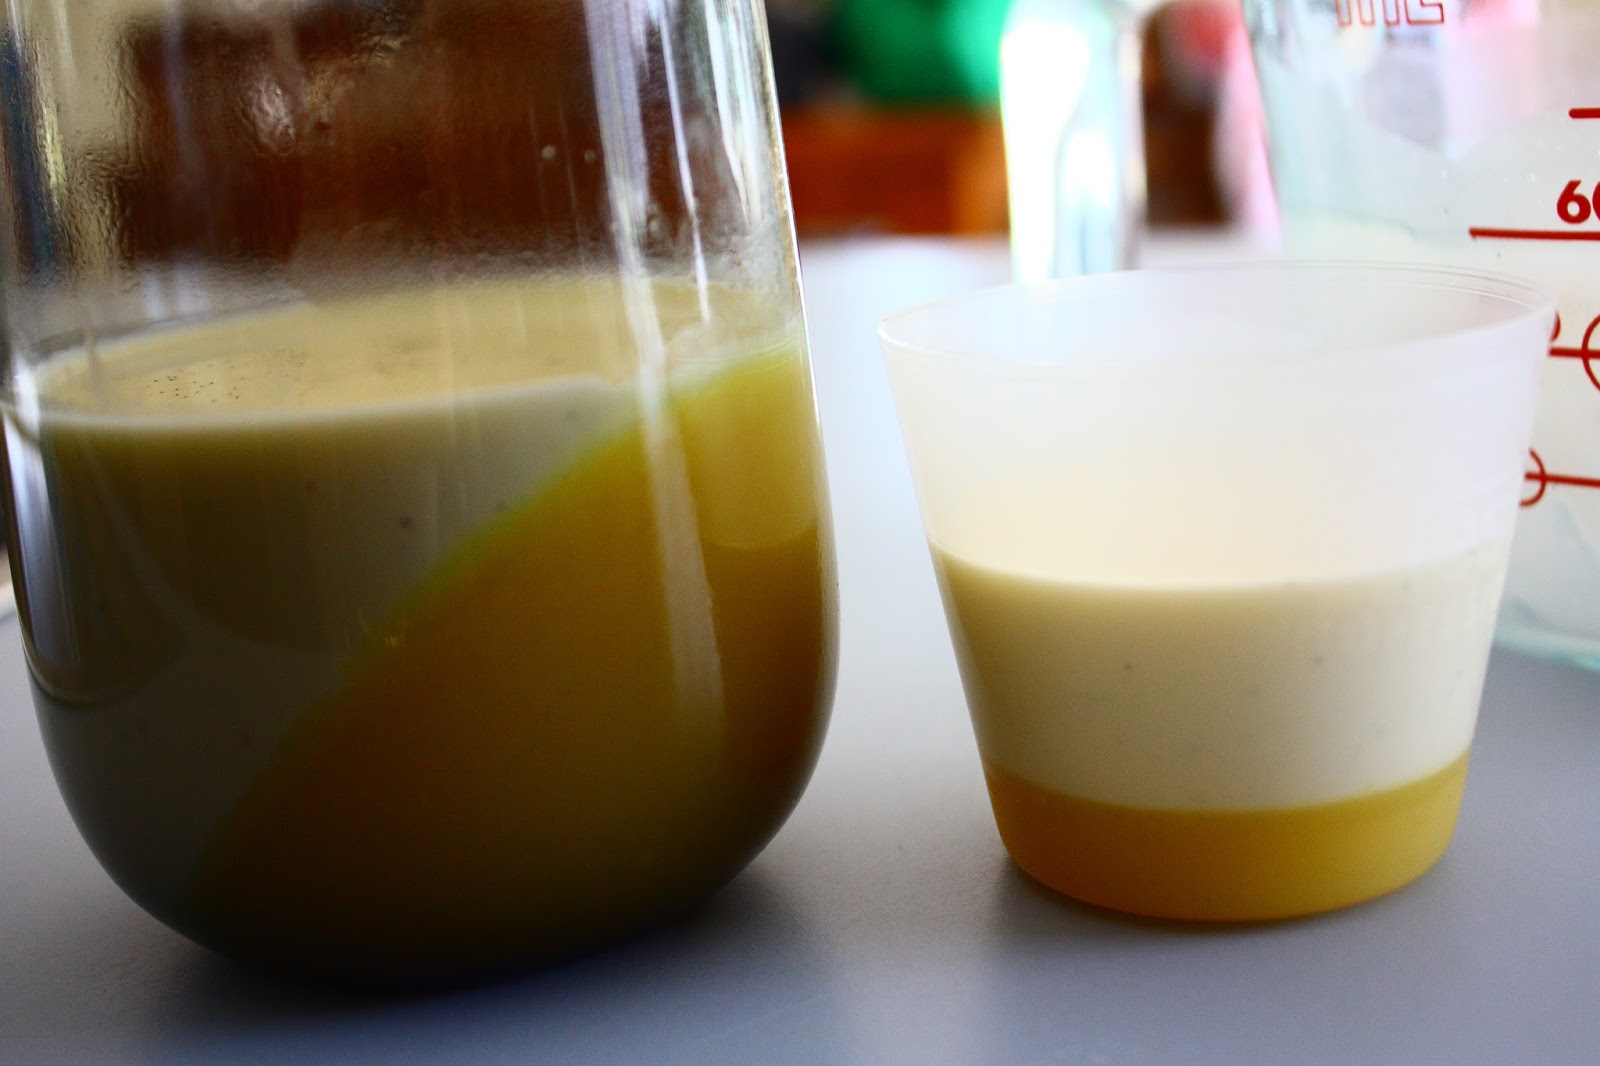
Pour into moulds or glasses set on an angle, refrigerate for about 2 hours or until set.


Make your panna cotta as per the directions above and allow to cool to room temperature.  Only when the panna cotta is at room temp can you pour over the set jelly (if still warm it will melt your jelly).  Refrigerate until set.  Dip in hot water and remove from mould for serving or just serve in the glasses.


Saturday, 12 March 2016

Cheesy Cauliflower Bread/Pizza


I don't know about you but all I see at the moment is posts for cauliflower this and cauliflower that, I did wonder what all the fuss is about and to be truthful was a little sceptical!  Then I saw a recipe for cheesy cauliflower bread sticks and well it looked so easy!

The Crash test dummies loved it and I think as it looks like pizza and tastes like cheesy garlic pizza they were on board with it and requested it again.

This recipe is for one large size pizza round you can double the recipe easily and make 2 if you have a crowd.

1/2 head of cauliflower
1 teaspoon dried Oregano
2 cloves of garlic, grated
2 cup pizza or mozzarella cheese
2 eggs, lightly beaten
salt and pepper to taste


Pulse your cauliflower in your food processor until it looks like rice.  Place in heat proof bowl, cover with cling wrap and microwave for 3 minutes on high.


Add oregano, garlic, salt, pepper, 1 cup of cheese and beaten eggs.  Stir together until combined.


Pour onto baking paper into desired shape.  Bake in the oven on an oven tray or pizza stone for 20 minutes at 175C.


Remove from the oven.


Top with remaining cup of grated cheese and bake for further 10 minutes.


Serve hot.

Saturday, 5 March 2016

Snickerdoodles


What is a Snickerdoodle I hear a lot of people ask!

It is a butter cookie rolled in cinnamon sugar before it is baked.  Yes I hear you!  YUM!!!!

Scott loves anything with cinnamon and these are no exception.  These are a great recipe to yet again make a batch and freeze uncooked for later.

250 gm butter, room temperature
1 1/2 cups caster sugar
2 eggs
2 3/4 cups plain flour
2 teaspoons cream of tartar
1 teaspoon bicarb soda
1 teaspoon vanilla extract
1/2 teaspoon salt

Coating

3/4 cup caster sugar
2 tablespoons ground cinnamon


Beat your butter and sugar until light and fluffy, add eggs one at a time beating thoroughly between eggs.  Add vanilla.


In a separate bowl place flour, bicarb, tartar and salt.


Gently add flour mix to butter mix, don't over mix the batter. At this stage you need to refrigerate the mixture for 1 to 2 hours.


Using my trusty cookie scoop (you could use a tablespoon measure) I scooped out mix and rolled into balls.


In a bowl mix 3/4 cup sugar and 2 tablespoons ground cinnamon.


Roll your balls in the cinnamon sugar and place on your tray.


This is some of the batch going in for freezing.  Freeze for 2 hours on tray then bag.


These cookies spread so remember to leave lots of room.  Bake at 180C for 8 to 10 minutes.  Watch them at 8 minutes they may begin to start burning around the edges.


Lets see if they last!