Saturday 28 February 2015

Savory Veal Casserole

 
I love this casserole it is easy to put together and versatile in that you can add or subtract ingredients as you like.  Even though this is a Veal casserole you can substitute chicken very easily.
 
This casserole is one that my Mum found in a magazine going on 30 years ago and we have all been making it ever since.  A family favourite comfort meal.
 
Scott and I don't eat a lot of potatoes these days so I have left out the potato, I did double the carrots instead of the potatoes and substituted the Veal for Chicken. 
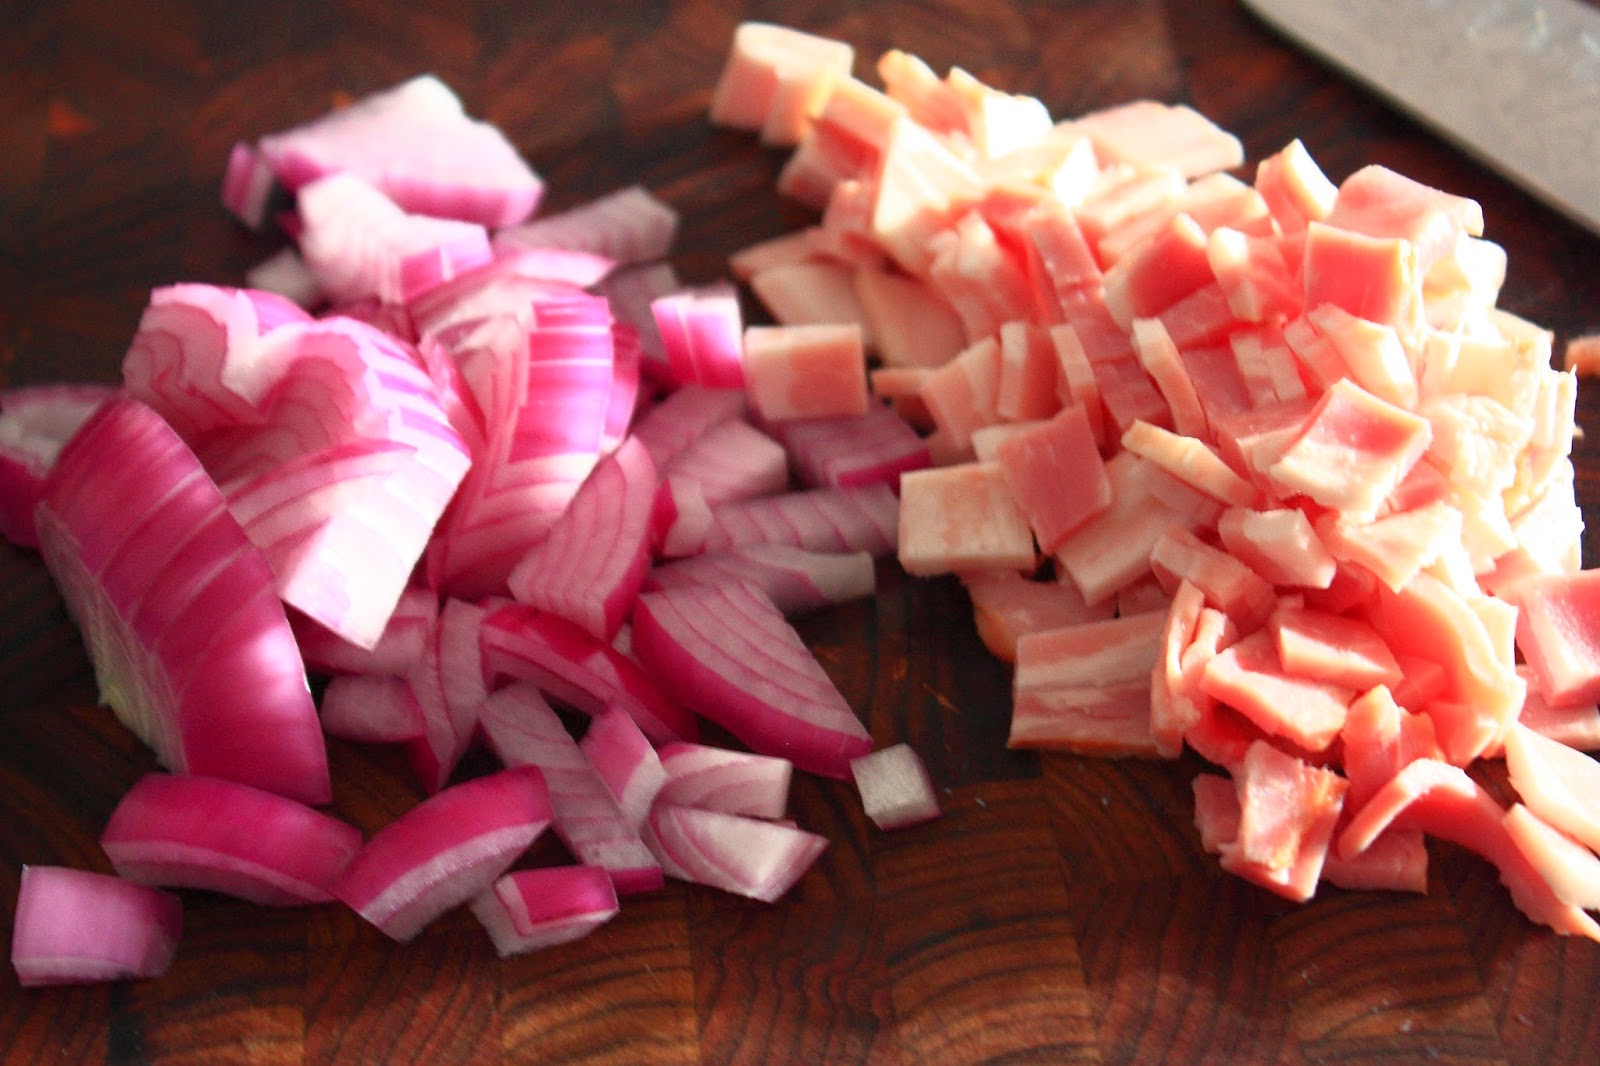
 
125g bacon chopped
60g butter
3 tblspn oil
1 large onion chopped
2 large carrots chopped
375g potatoes chopped
1 clove garlic smashed
750g cubed veal
5 tblspn plain flour
2 cups chicken stock
1/2 tspn soy sauce
1/4 tspn Worcestershire sauce
1/4 tspn dried mixed herbs
Salt and Pepper to taste
1 tblspn fresh chopped parsley


Heat butter and oil in an oven proof pan.  Add onion, potatoes, carrots, bacon and garlic.  Saute gently until onion is translucent then remove from the pan.


In a plastic bag place flour, salt and pepper.


Place the Veal/Chicken in the bag of flour.

 
 Seal and shake about until the meat is coated in flour.

 
Place the meat in your fry pan/casserole dish and brown meat.  You may need to do this in two batches so that you do not over crowd the pan.

 
Once the meat is browned add the remaining flour from the bag to the pan and stir until all the pan juices are absorbed.  Cook the flour out for approx. 3 to 5 minutes, stirring to ensure it doesn't burn.

 
Slowly add the chicken stock to the pan, stirring so that you don't get lumps.  Cook over low heat until the sauce thickens.  Add the soy sauce, Worcestershire sauce and herbs, stir through.

 
Add the vegetables back to the pan and stir thoroughly.  Cover and place in 150C to 160C oven to bake for an hour and a half.

 
When ready stir through the fresh parsley and serve.  I always add a nice slice of fresh bread to mop any of the sauce from the plate.  Enjoy.

Saturday 21 February 2015

Apricot Cointreau Cheesecake.

 
So this week was supposed to be the Chocolate Chip Cookies recipe, however I got a little trigger happy and hit publish instead of save and you got that last weekend as a sort of bonus.  Sorry.
 
Instead I bring you my all time favourite dessert that my Mum makes, well my second all time favourite,  Rice pudding is my first love.  In our house we all have our favourite desserts that we ask Mum to make,  Dad is Crème Caramel, Owen is Trifle, Cameron (my brothers best friend) is Tiramisu and mine is this Apricot Cheesecake. 
 
If you are making this for a dinner best make it the day before or very early the day of, as it does need to chill in the fridge before serving.
 
200g Dried Apricots
1 tblspn soft brown sugar
2 tblspn Cointreau
250g Nice biscuits or other sweet plain biscuits
125g butter, melted
1/2 tspn each of ground ginger, cinnamon and nutmeg
280g cream cheese, room temp
1/4 cup castor sugar
3 eggs
1/3 cup cream
 
Topping
300g sour cream
1 tbspn soft brown sugar
1 tbspn Cointreau


In a sauce pan place the apricots, brown sugar, Cointreau and 2 tablespoons of water, stir gently over a low heat until the sugar is dissolved.  Cover and simmer for a further 5 to 10 minutes or until the liquid is absorbed.  Do not allow to burn or stick to the bottom of the pan.

 
Remove from the heat and allow to cool a little. 
 
 
In your food processor blitz the apricots to a smooth paste and set aside.  Pre heat your oven to 180C for standard oven and 170C for fan forced oven.


Process your biscuits to a fine crumb, in a bowl add ginger, cinnamon, nutmeg and melted butter and mix until the crumbs are coated in the butter.

 
Press the crumbs into your 20cm spring form cake tin.  I lined the base of my tin with baking paper for easier removal.  Press half the crumbs into the base first, then slowly build up the sides of the tin, I used a glass with a flat bottom and side to press the crumbs in firmly.  Refrigerate while you mix the filling.


In your mixing bowl beat the cream cheese and sugar until smooth,  add the apricot mixture and beat together well,  add the eggs one at a time, beating well after each addition.  Beat in the cream.

 
Pour apricot mixture into your crust,  It is easiest to then place your tin on a baking tray for easy movement in and out of the oven.  Bake for 35 minutes

 
For the topping, mix together the sour cream, sugar and Cointreau.  Carefully remove the cheesecake from the oven, spread the topping over the top carefully.
 
 
This is a fresh nutmeg.  I keep this in a plastic container in my cupboard and grate it when I need it.  The smell of fresh nutmeg is soooooooo nice throughout the house.

 
Grate your nutmeg, or sprinkle if your using ground nutmeg, over the topping and return the cheesecake to the oven to bake for a final 10 to 15 minutes.  Remove from the oven and allow to cool to room temperature.  Refrigerate until ready to serve.

 
Note: If you are using a larger cake tin 23 to 25cm then you need to increase some of the ingredients,  375g cream cheese, 1/3 cup castor sugar, 4 eggs, 1/2 cup cream.

Sunday 15 February 2015

Chocolate Chip Cookies


I am always up for a good chocolate chip cookie, I am an avid recipe reader and collector, however when I saw this recipe and read the recipe from beginning to end, I immediately went to the pantry to make sure I had the ingredients!

I did make this recipe and there are wayyyyyyyyyy to many cookies to bake all at once unless your having a bake sale or have a gazillion kids to feed, or like me take them to work for Courtney and Amanda.  Only joking ladies!

Part of this recipe is the freezing of the cookie dough and well the eating of the afore mentioned dough.

Thank you to Julie from The Little Kitchen for this recipe I do love it and it will become one of our regular cookie jar and freezer stock cookies.  This has the Crash Test Dummy approval.

1/2 cup rolled oats
230g butter room temp
3/4 cup light brown sugar, packed
3/4 cup castor sugar
1 1/2 teaspoon vanilla
1/2 teaspoon fresh squeezed lemon juice
2 eggs
2 1/4 cups plain flour
1 12/2 teaspoon baking soda
1 teaspoon salt
1/4 teaspoon ground cinnamon
3 cups of semi sweet chocolate chips


Grind oats to fine or semi fine powder in your food processor, set aside


In you mixing bowl add your butter, both sugars, vanilla and lemon juice.  Cream together until light and fluffy, add your eggs one at a time and mix until incorporated.

 
In the same bowl as your ground oats place your flour, baking soda, salt and cinnamon.

 
Mix your dry ingredients through the butter mixture with a rubber spatula, taking care not to over work the flour or you will get cakes not cookies.

 
Yes next is the mother load of chocolate chips,  3 cups may seem to be tooooooo many but can I say, you can never have too many chocolate chips! 

 
Stir the chocolate through the dough and your ready to scoop, but don't forget to taste the dough, you may need to try it a couple of times.
 
 
Now if there is anything left after you have taste tested the dough, it is time to scoop.  I have a small ice cream scoop I use for cookies, it is fantastic, less mess and everything is the same size.  Bake for 12 to 15 minutes at 175C.  Check after 10 minutes as every oven is different. 

 
At this stage if, like me, you don't have a tribe to feed, you can freeze your dough.  Scoop and place on a lined baking sheet as above, and freeze.  I freeze them for 2 hours then bag them into zip lock bags and put the date on them,  great tip though, put the oven temp and time to bake as kids will always try to cook something when your not there, they may read your instructions.

 
Sorry the cookie monster got to the plate before I did.

Friday 13 February 2015

Chocolate Fondant


Happy Valentine's Day

 
Happy Valentine's Day to my wonderful men.  Scott and Jonathan have a great day.... now do your chores!
 
We have a show on the television here in Australia at the moment called My Kitchen Rules, I love watching it to see what other people cook and it's fun to watch the hissy fits!  On Sunday last week I did the test for this recipe, as Scott tends to go out to take photos at sunset on a Sunday I made this in the afternoon so he could taste test it.  The contestants cooking that evening on MKR made a chocolate fondant as well, hehehehe I am evil, but, mine worked theirs didn't!
 
Now don't get me wrong, mine wasn't perfect.  30 seconds less in the oven and it would have been perfect, so watch your times with this one.
 
185g dark chocolate, chopped
185g butter
3 egg yolks
1/3 cup plain flour
4 eggs
1/3 cup castor sugar
 
 
Pre heat oven to 180C and 170C fan forced oven.  Grease Texas muffin tin and dust with cocoa powder instead of flour.


In a saucepan over a low heat, melt the butter and chocolate and stir until smooth.  Transfer to a large bowl and allow to cool slightly. 
 
 
Carefully beat in the egg yolks and then stir through the flour.


In your stand mixer whisk the 4 whole eggs and sugar, until light and fluffy approx. 8 to 10 minutes.

 
Fold the egg mixture into the chocolate mixture gently.

 
Spoon into your muffin tins and place straight in the oven.  Bake for 10 minutes, the cakes should be soft in the centre, they will not bounce back if pressed.  Let them stand for 2 minutes.

 
Tip from Martha Stewart:  place a doubled up tea towel over the top of the muffin tin before you turn it onto the rack.  This stops your cakes from getting marks on them and the centre running onto your bench.

 
Serve straight away with a nice dollop of double cream and a berry sauce to cut through the chocolate.  If you manage to save one and hide it for later the centre should be like fudge when cold.


Saturday 7 February 2015

Zucchini Slice


While Scott is away Jonathan and I will eat our favourite foods!  Yes we had a coup!

Scott aka Crash Test Dummy One. doesn't like zucchini unless its dissolved in something and he cannot identify it and eggs well he eats them but only fried or hard boiled.


Jonathan aka Crash Test Dummy Two. used to hate zucchini but now loves it and eggs well he used to be "allergic" to them when he was a child (according to the child) then he tried my boiled eggs and fresh bread soldiers one day and he was hooked.  Eggs any way they come for this one.

This is a popular and easy slice to make.  Everyone has their own version and ways of serving it, you can have this as a light lunch or dinner served warm or hot with salad, or as a side at a BBQ or picnic or you can give it to kids for their lunch, this is my version ...

Narelle leave out the bacon and make this for yourself, I think even Glenn will eat this!

2 rashes of bacon, chopped
1 onion chopped
2 zucchini grated
2 carrots grated
1 cup grated tasty cheese
1/2 self raising flour
6 eggs lightly beaten
salt and pepper


Pre heat your oven to 180C, butter a baking dish or slice tin.


Saute the bacon and onion until the onion is softened.  


In your food processor with the grater attachment grate your carrots and zucchini.


On a clean tea towel place 3 pieces of paper towel and then your grated veg, gather up the sides of the tea towel and twist them and over the sink press out all the juice from the veg.


In a large mixing bowl place the veg, cheese, salt and pepper and the flour, oops blurry picture, sorry about that.


Toss together so that everything is coated in the flour, this stops everything from sinking to the bottom of the dish.


Add the bacon and onions and mix through.


Quickly mix the beaten eggs through the mixture and place into your baking dish or tin.


Press down flat with your wooden spoon and bake in the oven.  If using a baking dish for 35 to 45 minutes or until cooked or if using a slice tin 25 to 35 minutes or until cooked.


Remove from the oven and allow to sit for 5 minutes before serving if serving hot.