Saturday 29 August 2015

Turkey Kiev Balls


I don't know about you but I do love a change!  I made some little changes to our diets over the last 12 months, both Scott and I were trying to loose a little weight. One of the things we tried was swapping out beef mince for either turkey or chicken mince as it was leaner and a little better for you.  

These Kiev balls are one of the ways I found to use turkey mince. These balls can be made ahead and frozen or cooked from fresh.  This is a great thing you can have on hand in the freezer for one of those busy work week evenings when you cannot be bothered.

The garlic butter balls are also easy to make ahead and stick in the freezer.  You can then use then for well, anything from garlic bread, Kiev to topping a nice steak.

If you haven't tried turkey mince or even chicken mince, give it a go it works really well as a burger, just add some grated carrot and zucchini and watch the kids devour them!

Garlic Butter Balls

250 gm salted butter, room temperature
1 cup chopped parsley
1 large or 2 medium cloves of garlic, grated

Turkey Balls

500 gm Turkey Mince
1 egg
3/4 cup bread crumbs, I use fresh of fresh frozen as the case may be.
1/4 teaspoon each of salt and pepper
1 cup dried bread crumbs for coating.


Place butter, parsley and grated garlic into your mixing bowl.


Beat until combined.


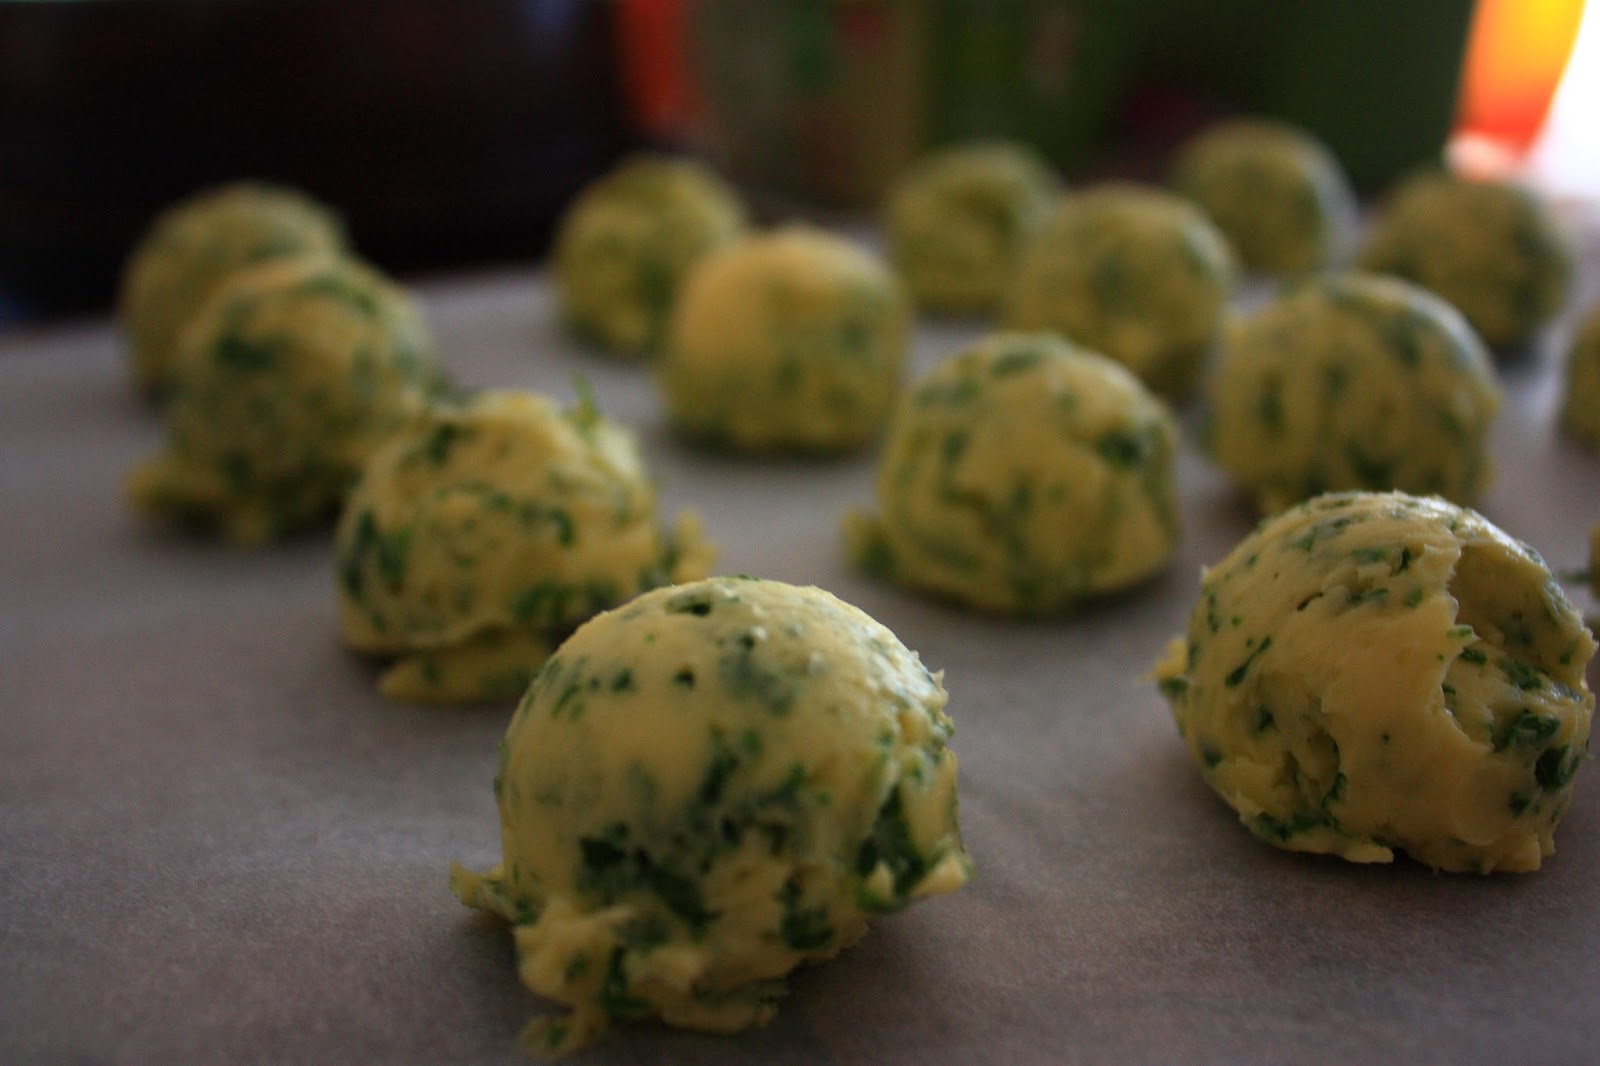
Scoop a teaspoon of butter into balls and place on lined baking sheet, freeze for an hour.  If you are not using these straight away you can bag them and keep in the freezer for later use.


In a mixing bowl place all your turkey ingredients and mush together as you would with burgers.


Divide into 6 equal portions.


Get your production line together.  In a bowl place your dried breadcrumbs and grab your butter balls from the freezer.


Slightly flatten out your turkey.


Stick your butter ball in the middle.


Bring the sides around your butter ball and close up well, to form a nice ball.


When you have all your turkey balls complete.


Roll them in the dried breadcrumbs.


If you are making these for use today just stick them in the fridge and let them hang our for an hour. If not stick them on a baking tray and freeze.  Once solid bag and label your Kiev balls.


Bake your Kiev balls on 180C for 20 minutes if fresh and 35 minutes if frozen.  I give mine a gentle and light spritz with a spray olive oil before i stick them in the oven just to make them crispy.

Saturday 22 August 2015

Cappuccino Cupcakes


I love coffee and I love cheesecake and I love cupcakes.  Why not combine them all and have one of these light and delightful Cappuccino Cupcakes.

This is a very Adults cupcake.  It contains well big people stuff so hide them from the kids and when you need to eat one hide in the pantry with your back to the door and stuff them in your face quickly!

See how long they last if you have a coffee addict in the house!

Cake

125 gm butter, room temp
3 teaspoons instant coffee
2 tablespoons Tia maria or Kahlua
3/4 cup caster sugar
2 eggs
1 1/2 cups self raising flour
1/3 cup milk

Cheesecake topping

250 gm cream cheese
1 teaspoon vanilla extract
1/2 cup icing sugar
1 egg


The cake is nice and easy it's a one bowl jobbie!  Place all your cake ingredients in your mixing bowl and run on low until combined then medium until changes colour and lightens.


Scrape down the sides once or twice to make sure it's all incorporated.


Fill your cupcake papers a third full.  You will get 24 cupcakes out of this mixture.  Bake in pre heated 180C oven for 10 minutes.  Be careful not to bake with the fan on or you will get volcano cupcakes in the middle.


Mean while in another bowl I happened to have handy.


Beat the cream cheese and vanilla until smooth.


Beat in the icing sugar and egg until smooth, scrape the sides and base a couple of times.


At 10 minutes take the cakes out of the oven and spoon the cheesecake mix on top.


I filled the cupcakes to the top of the paper liner, be careful not to over fill.  Place back in the oven for a further 15 minutes to finish cooking.


Remove from the oven and cool in the pan until cold.


Dust with drinking chocolate powder when cold and then serve.


Sorry I just couldn't wait for you.  *evil grin*

Sunday 16 August 2015

Ina Garten's Brownie Pudding


Desserts is supposed to be decadent and comforting.  This Brownie Pudding from Ina Garten the Barefoot Contessa is both of these things and also easy to make!  This is a great Sunday night dessert that you put into the oven just as you sit down to eat dinner.

This would also be a hit for a dinner party something a bit fun that I think even non chocoholics will rave over!

200gm butter, melted and cooled
4 large eggs
2 cups sugar 
3/4 cup cocoa powder
1/2 cup plain flour
1/2 teaspoon vanilla extract

Ice cream for serving.


In your stand mixer beat the sugar and eggs together for about 5 minutes on medium high.


The eggs should be light and fluffy.


Melt your butter and allow to cool.


Mix in the flour and cocoa powder until just combined.  With the motor running on low speed drizzle the butter in until combined.


Pour into your greased baking dish.  Place your baking dish into a roasting tin and place on the oven shelf.  Pour boiling water from your kettle into the roasting pan, half way up the side of the baking dish.


Bake in a pre heated oven at 160C for one hour.  The pudding will be squidgy in the middle and crusty on top.


Serve hot with a scoop of vanilla ice cream straight away.

Saturday 15 August 2015

Pumpernickel Bread (Black Bread)


Scott and I went to Hawaii 3 years ago in November, ahhh Hawaii I loved our time there.  While we were there we ate in a restaurant called The Cheesecake Factory.  For those that watch The Big Bang Theory, yes this is where Penny works!

They served the fabulous Pumpernickel Bread warm before the meal, Scott loved the bread and I have been "going to" make it for almost 3 years.  Well I finally got off of my rear end and made it.  Very nice bread, I wouldn't be able to eat it all the time as it is slightly heavier than a normal loaf and a little sweeter.

Some of the ingredients are not available in the supermarket, the Rye flour is available in the local health food store so have a look around.

1 cup warm water
2 teaspoons (1 sachet/7gm) dry yeast
1 1/2 tablespoons treacle
1 teaspoon dry instant coffee
1 cup plain flour
1 cup rye flour
1/4 cup corn meal (polenta)
1/4 cup burghul
2 tablespoons cocoa powder
1 teaspoon salt


In a warm bowl combine the water, yeast, treacle and coffee set aside for 5 minutes until frothy.


If you are using a bread maker for the dough as I did then combine all your dry ingredients in a bowl and set aside.  If making by hand, then place ingredients in a bowl and make a well in the centre.


If using a bread maker place yeast mix in the bottom then dry ingredients on top.  Set your bread maker for a dough setting and walk away.  If by had add the wet to the dry and combine, knead for 10 minutes or until smooth.  Set aside in covered bowl for 1 hour in a warm place to rise.


When dough has risen tip onto a floured board and shape lightly into a loaf and allow to rise, covered for 30 minutes in a warm place.  Slit the top of the bread with a sharp knife and bake in a pre heated oven 200C bake for 5 minutes and then reduce the oven to 180C and bake for a further 20 minutes.


Allow to cool for 5 minutes and then serve.


With lashings of butter!

Saturday 8 August 2015

Whole Lemon Cake with Lemon Cheesecake Filling.


When I post up a recipe on my personal facebook page and my brother comments with a "Yes please!" I know it's a good looking recipe!  I love this recipe it is so easy to make and very, very tasty.

This is a Mary Berry recipe, for those that watch The Great British Bake Off, will know that Mary is the Queen of cakes in the UK.  Her recipes are all easy to make at home and very tasty.

The idea of a whole lemon cake did intrigue me some what and it did look fantastic.  I must say whoever said that you eat with your eyes was correct.  If I see something that makes me drool, then there is more chance that I will make it.

Also I am a sucker for a layer cake.

Cake.

2 medium lemons
275gm butter, room temperature
275gm caster sugar
275gm self raising flour
2 level tsp baking powder
4 eggs

Filling.

50gm butter, room temperature
300gm icing sugar
250gm cream cheese or mascarpone


Place 2 whole lemons in a sacuepan, cover with water and bring to boil, simmer for 20 minutes or until soft and tender.


Drain, place lemons in a bowl, cut in half and with a fork remove the pips.


Place the lemons in your food processor, yes the whole lemon skin and all!  Blitz until you have a chunky puree.


Scrape all your puree into a bowl and set aside for a minute.


Back in your food processor place all your other cake ingredients.


Blitz the cake batter until smooth.  Then add half the lemon puree to the processor and pulse a couple of times to combine.


Divide the cake batter between 2 lined cake tins (20 to 23 cm) and bake for 30 minutes or until cake tester comes out clean.


Remove from the oven, allow to cool for 5 minutes in the tin then cool until cold on cake rack.


Line your serving platter with some pieces of baking paper just under the edge of the bottom layer of your cake, this allows you to have a nice clean serving platter.  Slice your 2 cakes in half.


For the filling place all your ingredients in the food processor including the rest of the lemon puree and blitz until smooth.


Place a third of the filling on each layer and repeat.


Don't lick the bowl yet!


Now place your cake in the fridge for an hour for the filling to set.


For a nice light icing use 250gm icing sugar and 2 tablespoons of lemon juice.  Stir until smooth and spoon over your cake.


Take your paper out from under the cake once your ready to serve.


You could decorate with candied lemon peel or just a couple of twists of lemon.  If it makes it to the table uncut that is!