Saturday, 2 November 2013

Sourdough from Starter to Bake


To begin a sourdough you start with a Starter.  This starter is easy to make and you can keep using it for years.
 
 
Starter.
 
1 cup plain flour (strong or bread flour)
1 cup spelt flour or just use 2 cups of plain flour.
2 cups of tepid water


Mix the flour and water and set aside in a plastic container with the lid on.


This is what it should look like after 24 to 48 hours,  discard half this mixture and top up with a cup of flour and a cup of water mix and set aside with the lid on.  Do this every second day for a week.  At the end of the week your starter is ready to use.

 
Bread.
 
375g plain flour
250g starter
7g salt
150ml tepid water
 
Either with your hands or mixer with a dough hook mix the flour and starter adding 50 ml of the water.  Mix the salt with the remaining water and add slowly with the mixer running.  When your dough comes together in the bowl of the mixer you may need to add some olive oil to the bowl to stop it sticking.  Let the mixer run on medium for approx. 10 to 15 mins checking if you need to add more olive oil to stop the dough sticking to the bowl.  Turn into oiled bowl to prove (rise) and cover with cling film and allow to rise in a warm place for 8 to 12 hours.
 
At the end of the first prove it should have doubled maybe tripled in size.  Now you need to "knock the dough back"  this involves knocking the air out and re kneading the dough.  Turn the dough onto a well oiled bench or into an oiled mixer bowl.  Knead the dough by hand or in the mixer for about 10 mins then "shape" into a ball.  Tuck the edges under to the bottom of the ball of dough, it will look nice and smooth on top.


If you have one use a bread proving basket (banneton) if not oil and flour a bowl, remember to oil it and flour it well other wise it will stick when turning the dough out to cook, this I know from experience! When you put the dough in the basket/bowl put the smooth top down and the underside pointing up.  Put the basket/bowl in a plastic bag to prove again for 5 to 8 hours.
 
 
Pre heat oven to 220C and place an oven proof bowl with boiling water in the oven.
 
Turn the dough onto either a tray or pre heated pizza stone.  Slash the top with a serrated knife and place in the oven at 220C for 30 mins then reduce heat to 200C for a further 20 mins.  When you tap the bottom of the bread it should sound hollow.


Sunday, 27 October 2013

Chocolate Ice Cream Pt 2

 
The finished product, much anticipated by the 2 men of the house!
 
 
I can tell you from experience 16 year old boys do not like ... to be kissed or hugged in public, they are too old for that stuff!  However they are never too old to lick the spoon, beaters, bowl or other baking implements!
 
 
When the custard is cold take from the fridge and put into your ice cream maker, this is a $30 one that is about 10 years old, stick the bowl in the freezer type, I await the new don't stick the bowl in the freezer one I have on order from Cuisinart, waiting, waiting, waiting!  Follow the manufacturers instructions, should only take about 20 mins of churning.  Put into plastic container, seal and put into the freezer for no less than an hour.  Serve and hope you have enough for the hungry hoard!


Chocolate Ice Cream Pt 1

 
Apologies for no post yesterday.  Yesterday I had a girlie day with my friend Helen in celebration of her birthday!  Happy Birthday Helen, no numbers will be mentioned.
 
 
I was going to post cupcake part one and two, however I am not happy with my two attempts at Swiss Meringue Butter Cream, neither worked as I wished them too!
 
 
This morning I needed to use some egg yolks left over from the buttercream experiment (debacle) so I made my go to chocolate ice cream base.
 
 
2 cups Thickened Cream
1/2 cup Sugar
3/4 cup Dark Chocolate. (buttons or block your choice if block chop it finely)
4 Egg Yolks


Place cream, sugar and chocolate in a saucepan and heat on low.


Stirring to combine as the chocolate melts.


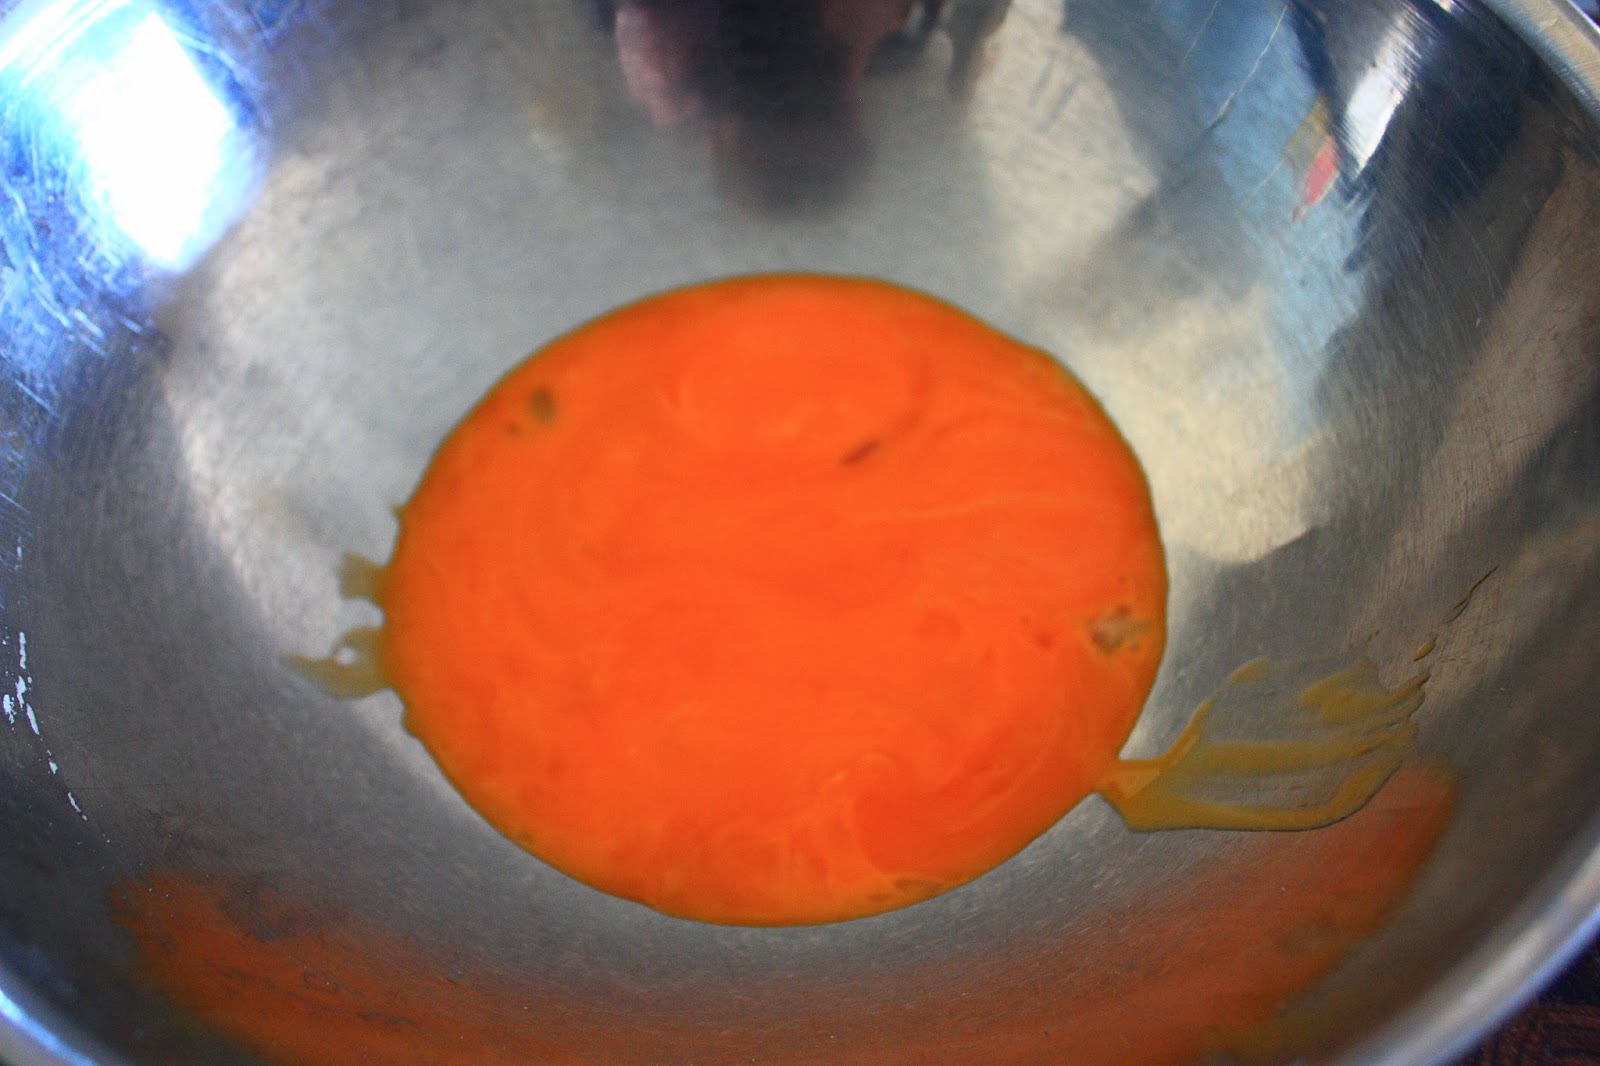
Place egg yolks in a separate bowl for whisking, it is easier in a mixer with the whisk attachment.


Whisk until pale, keep whisking.

 
Yep that looks pale enough.


With the mixer still turned on take a cup of the hot chocolate cream and slowly pour onto the egg yolks.  This is called tempering them, it stops the eggs from scrambling and being chocolate scrambled eggs, yuck!
 
Pour the rest of the cream mixture on the eggs with the mixer going to combine, this will mix in any unincorporated chocolate.

 
Pour the mixture back into the saucepan and over a low heat stir and keep stirring until the mixture thickens.  At this stage it is a bit like making custard from the packet, you just have to be patient.


You know when a recipe says "when you run your finger along the back of the spoon and it parts" this is what it looks like.  So when your custard does this, nice and thick, you can turn the heat off and move it to a jug or bowl to cool.


Next place glad wrap on the top of the custard.  Yes it does work and stops the top of the custard forming a skin while it cools, No the wrap will not melt.


Stick it in the fridge until cold, should take a couple of hours.......
 
At this stage walk away....  Part 2 coming soon....

Sunday, 20 October 2013

Beef Chasseur


This is a favourite in our house it is from one of my Mum's (thanks Mum for donating the cookbooks) Cordon Bleu cookbooks from the 70's.


1kg Rump or Skirt Steak cut into 2 cm cubes
1 small Onion diced
1 clove Garlic
3 tbspn Butter
2 tbspn Plain Flour
500ml Beef Stock
500g Button Mushrooms
2 glasses white wine (plus one for the chef)
2 tbspn Tomato paste
chopped parsley to serve
Salt and Pepper


Cut meat into cubes. In hot pan add oil and a tbspn of butter, when melted add in the meat not over crowding the pan, you may need to brown the meat in batches.  Remove browned meat from the pan and set aside in a bowl. 


Dice onion and slightly crush garlic. 


Add remaining butter to the pan and onions and garlic on low heat allow to cook until onions are translucent.


Add the flour to the onion garlic mix and stir through,  allow the flour to cook for about 3 to 4 minutes.


Take the pan off the heat and stir in the beef stock a bit at a time to ensure you don't get a lumpy sauce.  When all the stock is mixed in replace on the heat and stir until the sauce thickens.


Return the meat to the sauce and season with salt and pepper to taste.  Simmer with lid on for 45 minutes.


If you have managed to find small button mushrooms leave them whole or if large halve or quarter them.  Heat pan add small amount of butter and the mushrooms, fry for 2 to 3 minutes.


Pour wine over the mushrooms and allow to boil until reduced by half, stir in the tomato paste.


Add the mushroom mixture to the meat and continue to cook for about 10 minutes.


Stir through the parsley just prior to serving.

Friday, 18 October 2013

Vanilla Panna Cotta


Just getting a head start on the weekend!  I thought I would post this tonight so that any adventurous souls could make this tomorrow morning and it would set in time for desserts.  I have a busy weekend ahead of me, a bit of bread making and some cupcake and icing testing to be done.  Enjoy your weekend!


2 cups of Thickened Cream
1 Vanilla Bean
1/2 cup Sugar
2 leaves of Gelatine
1/2 cup Greek Yogurt


Halve the vanilla bean and scrape out the seeds.  Put the seeds, pod, sugar and cream in a saucepan and bring to a simmer over medium low heat, stirring occasionally.  Discard the vanilla pod.  

Place gelatine in a bowl cover with cold water for 5 minutes, remove gelatine from water squeeze out the excess.  Stir gelatine into the cream mixture until dissolved, stir in the yogurt (or if you don't have yogurt you can use extra cream).

Divide between 6 to 8 ramekins or moulds as below if you have them.  Cover with cling rap and refrigerate until set, at least 6 hours or longer if needed.


Dip each mould in hot water 3/4 of the way up the sides of the mould for 30 seconds to a minute and then invert into bowl or serving dish.  Serve with berry sauce if desired or on their own.


Sunday, 13 October 2013

The Pioneer Woman's Strawberry Oatmeal Bars


This is a great recipe to make with the kids, no power tools needed!


205g room temperature Butter
1 1/2 cups Plain flour
1 1/2 cups Quick Oats
1 cup Packed Brown Sugar
1 tspn Baking Powder
1/2 tspn Salt
1 Jar of Jam of your choice


In a mixing bowl put all dry ingredients and mix with a fork to combine.


Mix room temperature butter with fork into the dry ingredients.  This may take a while or kids may like to use their hands.


When all mixed together no dry flour, put 2/3 of mix into buttered baking dish and press down until firm. 


Spread jam on top evenly.


Sprinkle remaining oat mix over the top evenly and gently press down.

Bake at 180c for 35 to 40 minutes.

Once cooked allow to cool completely.  If your anything like me this is difficult!  Remember hot jam BURNS!

Saturday, 12 October 2013

Salsa but better than you get in a Jar!


So I am over buying Salsa!  I found a recipe that looks good but I changed it up some to suit my families taste.  The great thing is I had everything but the chilli on hand, that I procured this morning at the local farmers market along with some fresh garlic bulbs with the stalks still on just waiting to be dried for later use, however that is another blog post all together.


2 tins of whole or chopped Tomatoes or 3 if you don't wish to use the peppers
1 300g jar of Roasted Red Peppers or 3 large home roasted peppers skin and seeds removed
1/4 Onion chopped
1 clove of Garlic minced/crushed or grated
1 whole red or green Chilli sliced for mild remove the seeds and ribs if you like it hotter leave them in
1/4 tspn Sugar
1/4 tspn Salt
1/4 tspn ground Cumin
1/2 cup of chopped Corriander or Pasley if you don't like Corriander
1/2 whole Lime juiced possibly more to taste


Place all ingredients in a food processor and pulse for about 15 pulses or until it reaches the desired consistency.  Test for taste and either add more salt or lime juice or both to suit your taste.


This is the stage of my recipe that my other half rushed through the kitchen trying to take the lens off the camera I was using so he could go on a photo shoot (bet he doesn't use it) so I think his nagging about another lens may be justified, but don't tell him that!


Okay so now the camera is back it can be served with corn chips.

Fantastic to whip up if you have those unexpected guests drop buy.  Remember the longer you leave it the more pronounced the chilli will become!